pip

python安装
apt update
apt install python3.11-full -y
# --install <link> <name> <path> <priority>
update-alternatives \
  --install /usr/bin/python3 python3 /usr/bin/python3.11 311
#一个name可以用多个path,每个path都有不同的优先级,比如python3这个name有python3.10,python3.11
update-alternatives --display python3
update-alternatives --config python3
apt install python-is-python3 -y
apt install python3-pip -y
pip常用命令
pip配置文件:~/.pip/pip.config, ~/.config/pip/pip.conf(linux), %APPDATA/pip/pip.ini(windows),配置示例,pip使用系统代理就行
也可以直接使用pip config edit --editor vim或者export EDITOR=vim; pip config edit 或者在pip.conf中global标签下面加上EDITOR=vim之后pip config edit直接编辑
[global]
index-url = https://pypi.tuna.tsinghua.edu.cn/simple
extra-index-url=
    https://pypi.mirrors.ustc.edu.cn/simple/
    https://pypi.douban.com/simple/
    https://pypi.python.org/simple/
[install]
trusted-host = tuna.tsinghua.edu.cn
    pypi.douban.com
    mirrors.ustc.edu.cn
    python.org
pip config set global.extra-index-url "https://pypi.mirrors.ustc.edu.cn/simple/ https://pypi.python.org/simple/"
pip show rich # 显示当前已安装包的信息
pip install rich==13.5.2 -i http://... --trusted-host mirrors.huaweicloud.com
# 查看config
pip config list
pip -v config list # 可查看到具体加载的那些配置文件和内容
pip config set global.proxy ....
pip uninstall rich # 卸载包的缓存文件在~/.cache/pip中,之后重新install会从缓存中获取
pip cache purge # 清除所有缓存文件

pip install --no-index --find-links=deps --no-build-isolation psycopg[c]

# 升级pip包
pip install -U transformers
# 查看pip包有什么版本
pip install datasets==
#设置超时时间
pip install datasets --default-time=200
#安装包,不使用cache文件
pip install torch --no-cache-dir

#保存当前环境配置
pip freeze > requirements.txt
# 下载指定包到本地,对于requirements里面可以不用指定版本的限定,可以直接用仓库里面那种空格后面接一个版本的形式
pip download -r requirements.txt --dest . --no-deps

pip download easydict==1.13 --only-binary=:all:

pip config set global.no-cache-dir true
pip config set global.no-cache-dir true --user
pip config set global.no-cache-dir true --site
pip config unset global.no-cache-dir

export PIP_NO_CACHE_DIR=1
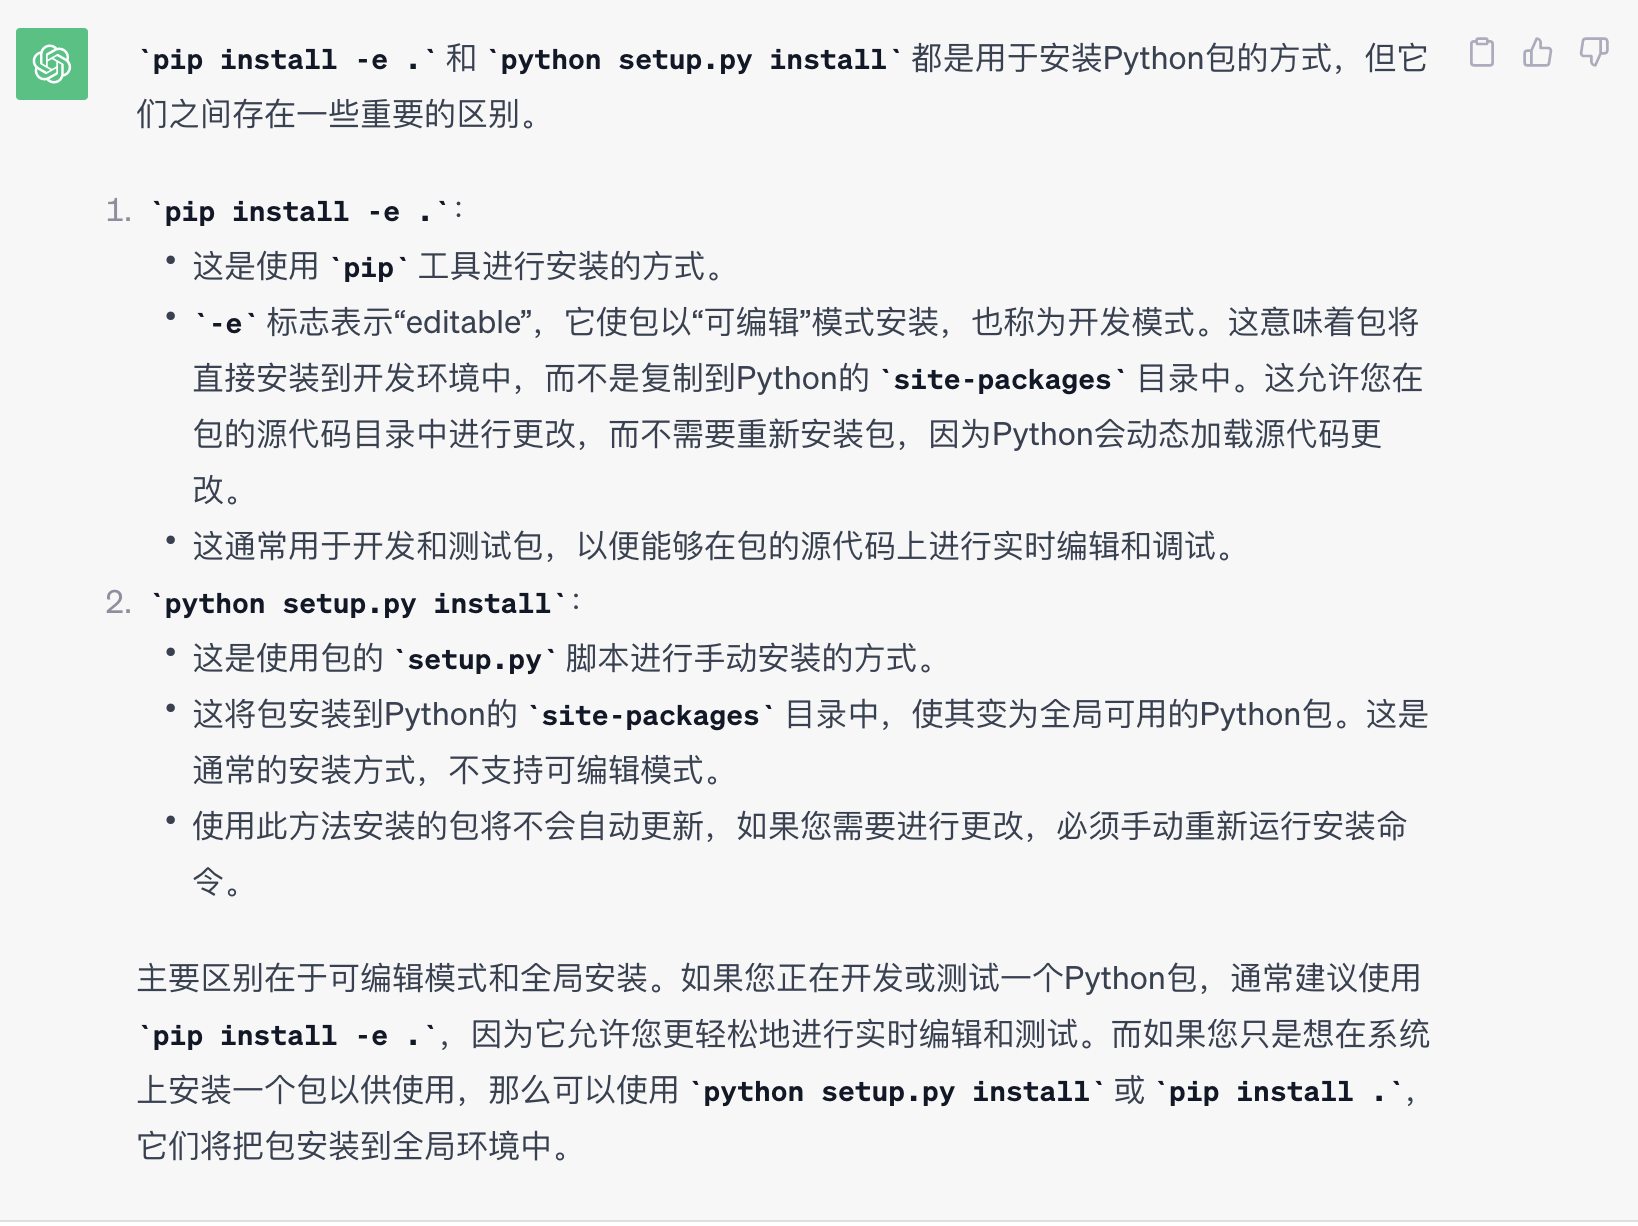
editable project
执行以下命令会执行当前目录的setup.py,将当前项目代码作为模块引入到环境的
对于无法联网的环境需要安装这个文件夹相关的module,可以先在外部环境pip install -e .当前目录生成egg-link文件。打包当前文件夹传到无法联网环境直接执行pip install -e .安装
# editable安装方式可能导致系统存在多个版本,虽然pip list -v显示的是期望的版本路径,但是可能存在跑的时候是别的版本,最好先卸载旧版本
pip uninstall
pip install -e .
# or
python setup.py install

# 对于pyproject.toml中要求的依赖即使环境中存在也会导致找不到的错误,原因是默认会## **构建隔离机制(PEP 517)**,需要显式指定不构建隔离才会先从环境中找到依赖
pip install -e . --no-build-isolation
pip下载包到本地
pip download megatron==0.1 --no-deps
# pip默认会下载当前pip对应的本地python版本的whl包,我们可以指定别的python版本
pip download megatron==0.1 --python-version 3.9 --no-deps
conda环境使用参考:conda
容器内更改容器系统路径改为映射路径
对于镜像内自带的vllm/vllm-ascend包,如果需要方便定位问题或者进行开发,最好是更改路径到host映射路径,这样可以方便进行vscode直接debug
首先pip list -v|grep vllm查看当前源码以及meta data的路径
一般-e安装的话direct_url.json里面的路径是/tmp,也就是构建中间路径,构建完不存在,一般不改也行,不是本地源码安装的话direct_url.json中是写死了路径,只设置PYTHONPATH不会生效,需要同时修改direct_url.json(只对pip有关), import的话需要同时拷贝pth文件,finder.py文件,修改里面路径
pth文件只有在site-packages下才生效,直接修改里面的路径就可以
cp /vllm-workspace/vllm /home/package/
# 一般如果是-e 元源码安装的话,meta data路径会在源码在同一级路径,否则默认就是site-packges下
cp /usr/local/python3.11/site-packages/vllm-0.11.0+empty.dist-info  /home/package/
cd /home/package
cat << "export PYTHONPATH=/home/package:$PYTHONPATH" >> env.sh

#更改meta data下的direct_url.json里面的路径为当前/home/package下的路径
#
source /home/package/env.sh